

PTU tutorials
Gimmie Dat Mojo
Peeking Prividges
If Loving You is Wrong
Santa's Bitch
Duck Tape
Gettin' Hot in Here
Proud Xeracx Stalker
Put My Old Blue Jeans On
Happy Haunting
BCA awareness
Makin' Whoopee
Define Good
Ring in the New Year
Remember, Dream, Live
Dirty Mind
Sweet Valentine
Drink until you're Green
Peace, Love and Groovy
PSP Addict
In My Thoughts and Prayers
Bitch Down the Street
FTU
What happens at Santa's..
Aim to Tease
Mayhem Gurl
Irish Babe
Good Friends
I'm Just Me
Summer Forum Set
Happy Spring
Really Naughty
You are Perfect to Me
Lifetime Friend
Hot Stuff
Like Strawberry Wine
Love My Dog
Make me Bad
1st Forum Set
Fan Club
It's Christmas
Summertime Fun
Attitude, What About It
Bad Case of Loving You
Naughty List
Skullicious
Rock n' Roll Babe
Welcome New Baby
My World
Irish Girl
Bitches for Breakfast
Four Letter Word
Sweet Dreams
Spring is Here!
Kits longer available
Sunday, June 5, 2011
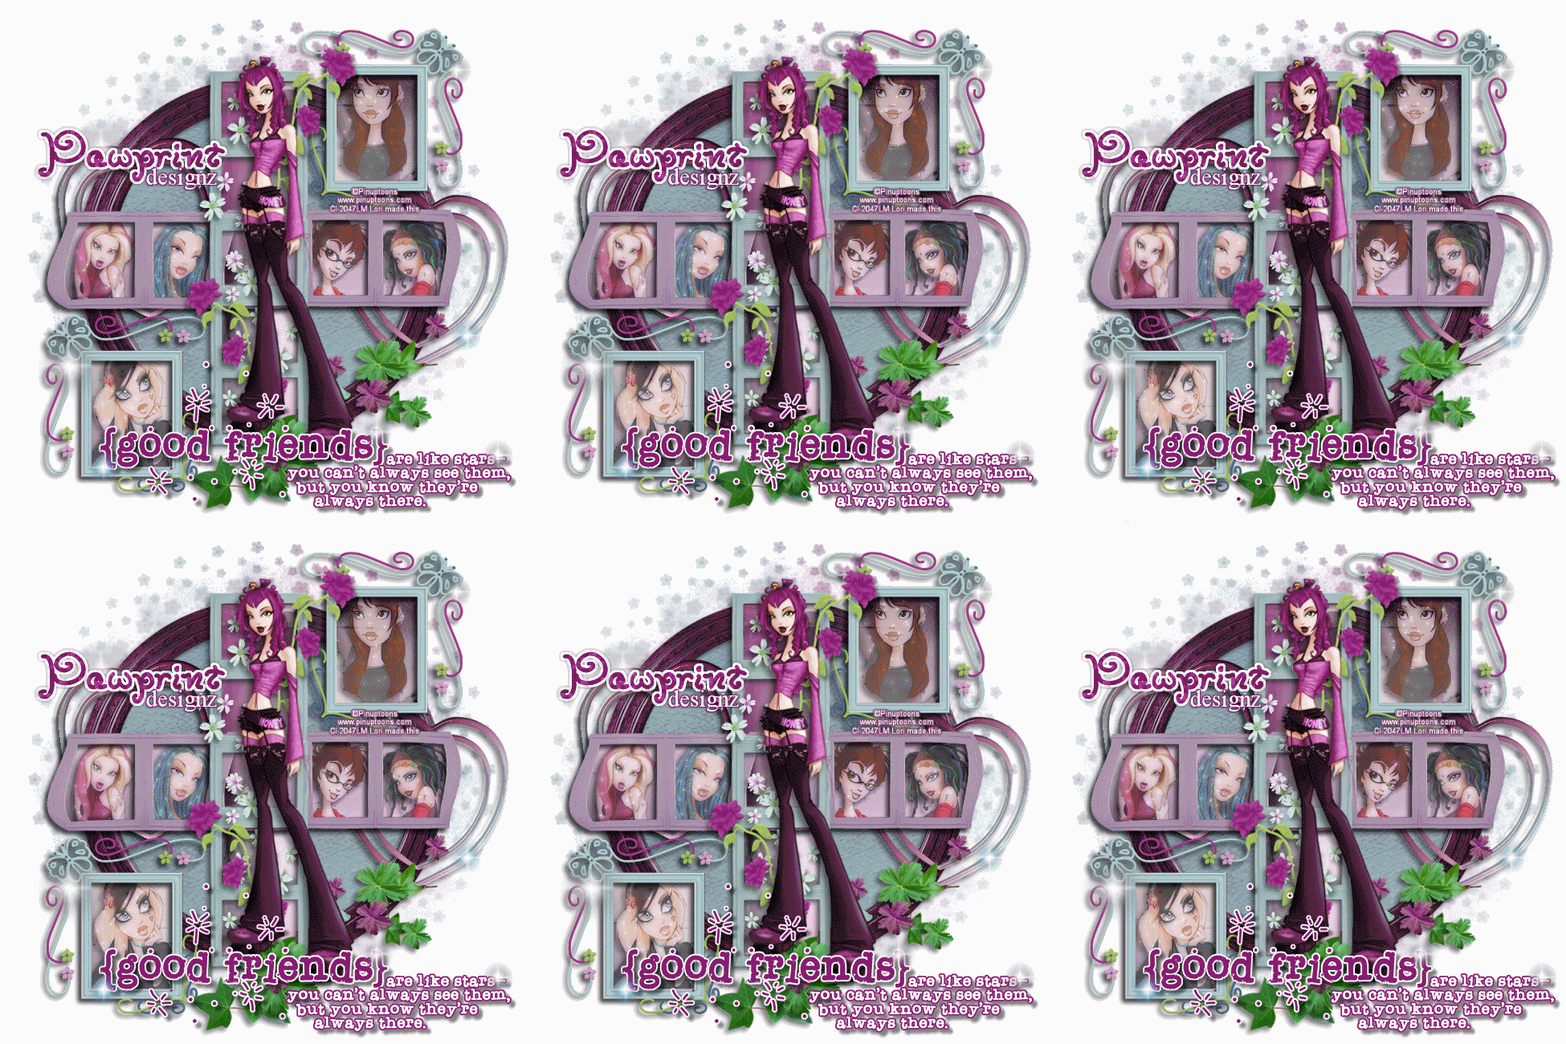
Good Friends tutorial using PTU kit Summer Cottage
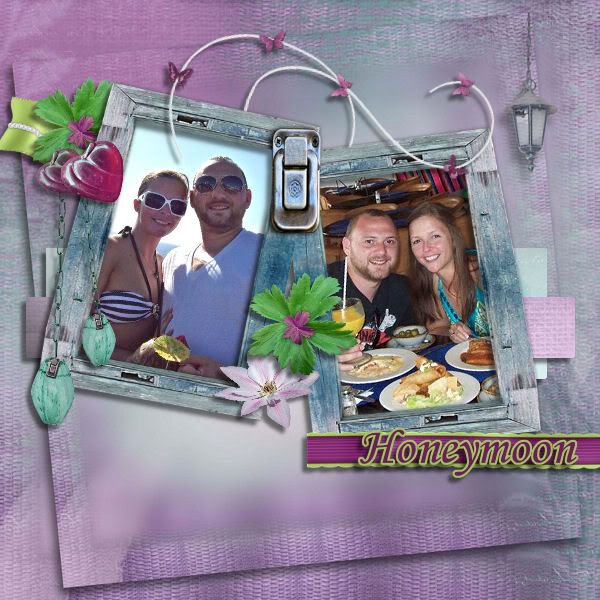
(below this tutorial is also a scrap page I made with this awesome scrap kit!!)
This tutorial was written by me, Lori, on June 2, 2011.
And it was written for those who should already have a basic knowledge of working with PSP. I used Paint Shop Pro X3
Do not copy this tutorial and post it through any group or claim it as your own. Please share a text link only.
Any resemblance to any other tutorial is strictly coincidental.
Supplies needed
Tube(s) of choice, I used the Artwork by ©Pinup Toons you must purchase a license found here. (I'm using a tube from CILM, which as we all know is now closed.)
Tag template by Missy of Divine Intentionz and can be found here.
PTU Scrapkit by Shani of Wicked Princess called Summer Cottage and can be found here.
Vix mask #291 which can be found here. Look under goodies.
WSL mask #75 which can be found Here.
PTU Good friends Wordart of Wordart World by Jennifer and you can purchase it here.
Plug In: Xero
Plug In: Xenofex 1.0
Plug In: eye candy 4000
Please remember to stop and save often.
Add drop shadow of choice as you go. Refer to my example as needed, merge layers down as needed to make things a little easier.
Let's Rock this Tutorial!!
Open the template in PSP, using your shortcut keys on your keyboard (SHIFT+D) duplicate the template as a new image. Close the original.
Resize Canvas to 750x750 pixels, you may resize later.
Open papers 4, 5, 12, 16 and QP-SC-PP (it has no number) and both the masks. Minimize for later use.
Go to raster1, select-All-float-defloat, add new raster layer and paste paper 5 into selection, go to layers-new mask layer, from image and add mask WSL mask #75, go to layers-merge-merge group. Do this again but using mask Vix #291 using the same paper.
Go to the circle layer, Selections-all-add new raster layer and paste paper 4 into selection, without deselecting, go back to circle layer, selections-float-defloat-invert, go to the paper4 layer and hit the delete key on your keyboard.
Open element circle frame2, copy and paste as a new layer, over the paper4 circle layer.
Go to rectangles 1 and 2, open element heartframe, re-size 217x213 pixels, copy and paste one over the rectangle on the right, duplicate layer, go to image-mirror and arrange over the rectangle on the left, delete both rectangles. For each heart, go to effects-plugins-eyecandy 4000-glass using these settings:

Go to frame2 layer, open element TRISCALLOPEDFRAME, re-size 324x138 pixels, copy and paste over left side of frame2, making sure only two of the frames are showing.
Duplicate layer, and with your pick tool, slide over the the right side of frame2, making sure only two of the frames are showing. Making sure the top frame is active, merge down to the original frame element, rename this layer purple frame and delete original frame from template.
Open paper 16, go to purple frame layer and add new raster layer below it. Select-All, paste paper16 into the selection. Deselect. Go to the purple frame and with your magic wand, set to add (shift) and color, select inside each frame, go to Selections-modify-expand by 7, Selections-invert, go back to the paper layer and hit the delete key on the keyboard.
Open element butterflyframe, re-size 199x219 pixels, copy and paste above the purple frame layer, arrange over square3, the pink square on the bottom left, duplicate layer, go to image-mirror and arrange over square1 at the top right. Making sure the top frame is active, merge down to the original frame element. Delete layers, squares 1-4. Do the same to these frames as you did just above to the vertical frame using paper12 and arranging below the vertical frame.
Then merge the butterfly frames down to the purple frame element.
Add a tube of choice under the frame layer, re-size to liking, and arrange in any of the frames. Go to the frame layer, with your magic wand, select inside the frame w/the tube, go to selections-modify-expand by 7-invert, activate the tube layer and hit the delete key on your keyboard. Do this with each frame until you have the purple frames and 2 butterfly frames with a tube. Go to the first tube layer and merge down until all tubes are on one layer.
Go to effects-xero-porcelain with the below settings :
Open triframe element, go to image-rotate right, resize 124x285 pixels, copy and paste above the frame1 layer, duplicate and arrange so there are 5 frames, go to layers-merge-down. With your magic wand, select inside each frame, Selections-modify-expand by7, add a new raster layer below the frame layer and past paper WP_SC_PP into selections.
Open element flowerscatter, go to image-rotate right, re-size 93x292 pixels, copy and paste above the tall frame. Duplicate and move a little up go to image-mirror.
Open element rose vine, re-size 115x271pixels. Go to Image-free rotate-have left checked, free rotate 20.00. Copy and paste as a new layer and arrange to the bottom left of the tall frame. Go to image-mirror, arrange to the top right of the tall frame.
Add anyother elements of choice and arrange to liking.
Add another tube on top of the tall frame.
Open wordart GoodFriends, re-size 505x182 pixels. Copy and paste as a new layer and arrange to the bottom. Go to selections-all-float-defloat. Add a new raster layer flood fill the words 'are like stars....” with white. Add a new raster layer and flood fill 'good friends' with a color from your tube. Add a new raster layer arrange below the wordart layers, Selections-modify-expand by2, flood fill 'Good Friends” with white and 'are like stars....” with the same color from your tube. Merge all wordart layers down so that wordart is on one layer.
Add your name, Copyright info, license and save!
If you are not doing animation, stop here!!
ANIMATION:
Remember the layer with all the tubes in the frames? Go to that layer, duplicate. (I'm doing this with xenofex 1.0, if you are using the newer version this may be different, just make sure the visiblity is set to 70 in the end process.) Go to the original layer, (should be the bottom one) and set visiblity to 70. Go to the top layer, effects-xenofex- constellation with the following settings:
star size: 15
sharpness: 74
overdrive: 48
random speed: 50
Go to edit, copy merged and paste as new animation in animation shop. Back in paint shop pro, undo last command (the constellationsettings). Now
continue doing this changing the speed by 10 each time, till you hit 100, this should give you six layers.
Save in animation your 'normal' way.....
Thanks for Rocking Out my tutorial, I hope you enjoyed! ~Lori

Subscribe to:
Post Comments (Atom)
 Thanks to Shani of Wicked Princess Scraps for the use of her kit, Strength In Me, a FTU kit to help raise awareness in testicular cancer. No matter what kind of cancer it is, if you love someone with cancer, be by their side and 'Love them through it'.


- Lori
- Hello, my name is Lori. I work full time as a Grooming Salon Manager, I LOVE my 4 legged 'Babies'! (Hence the name of my blog) I'm soon to be married to a Great man, Put (actually it's his nickname). I have 2 Beautiful Daughters and 1 Handsome Son. I also have 2 Grandsons, Hunter and Trey, and a Step-Grandson, Logan! In my spare time I love to make tags and scrap page Lo's! I hope you enjoy and come back often!


Kits no longer available
(but thought you'd still be interested)
Life is Short
Strokin'
Janesko's Merry Christmas
I Believe in Faries
Friends Make the world
Mystic
Sexy
Let's Get Rocked!
Under the Mistletoe
Coffee Time with Friends
Blow Your Mind
Addicted to Love
Sending My Love
Never Weary of Life
Candy Girl
Sweet as Candy
Sexifullicious
Respect the Sisterhood
Newsflash Sweetie
Girlfriends
Believe In Faries


0 comments:
Post a Comment