
Blog Archive

PTU tutorials
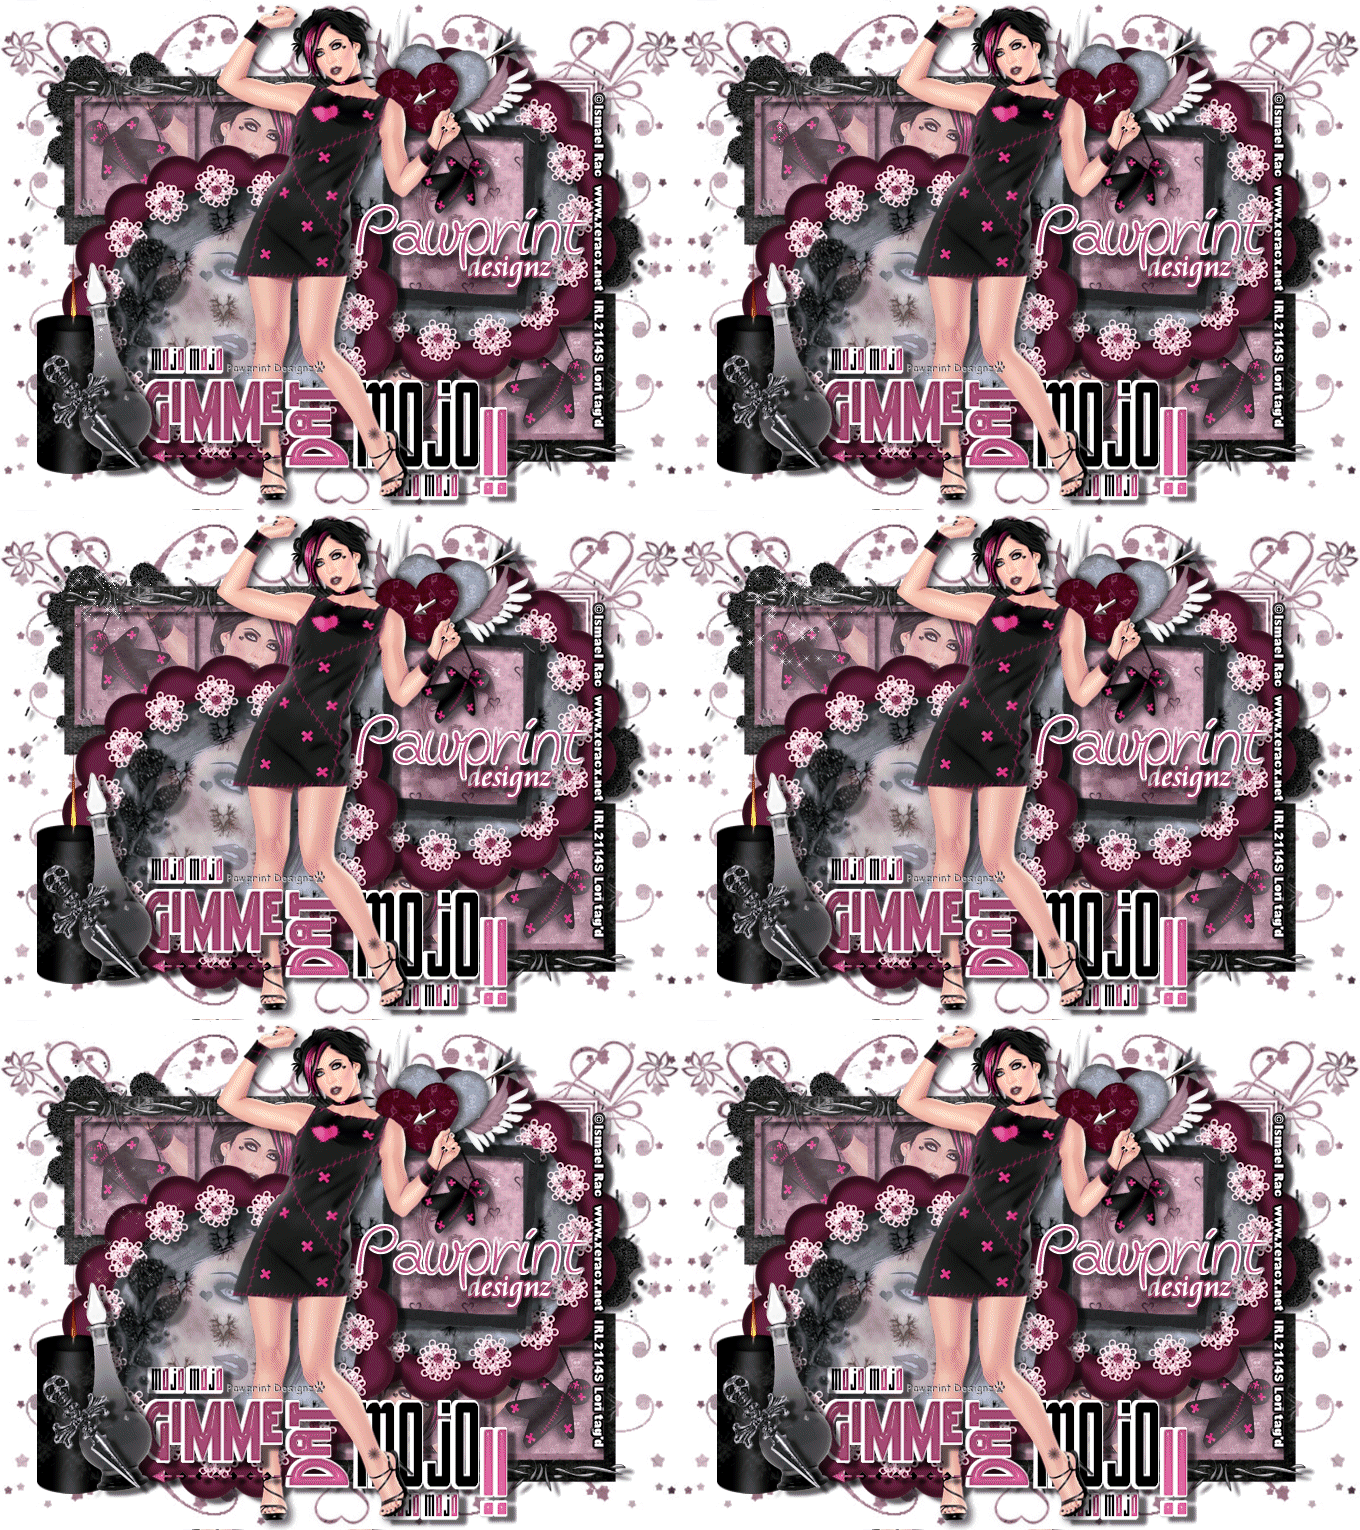
Gimmie Dat Mojo
Peeking Prividges
If Loving You is Wrong
Santa's Bitch
Duck Tape
Gettin' Hot in Here
Proud Xeracx Stalker
Put My Old Blue Jeans On
Happy Haunting
BCA awareness
Makin' Whoopee
Define Good
Ring in the New Year
Remember, Dream, Live
Dirty Mind
Sweet Valentine
Drink until you're Green
Peace, Love and Groovy
PSP Addict
In My Thoughts and Prayers
Bitch Down the Street
FTU
What happens at Santa's..
Aim to Tease
Mayhem Gurl
Irish Babe
Good Friends
I'm Just Me
Summer Forum Set
Happy Spring
Really Naughty
You are Perfect to Me
Lifetime Friend
Hot Stuff
Like Strawberry Wine
Love My Dog
Make me Bad
1st Forum Set
Fan Club
It's Christmas
Summertime Fun
Attitude, What About It
Bad Case of Loving You
Naughty List
Skullicious
Rock n' Roll Babe
Welcome New Baby
My World
Irish Girl
Bitches for Breakfast
Four Letter Word
Sweet Dreams
Spring is Here!
Kits longer available
Thursday, August 18, 2011
PTU-Gimme Dat Mojo - tutorial
This tutorial was written by me,
Lori, on Aug. 17, 2011.
And it was written for those who should already have a basic knowledge of working with PSP. I used Paint Shop Pro X3
Do not copy this tutorial and post it through any group or claim it as your own. Please share a text link only.
And it was written for those who should already have a basic knowledge of working with PSP. I used Paint Shop Pro X3
Do not copy this tutorial and post it through any group or claim it as your own. Please share a text link only.
Any
resemblance to any other tutorial is strictly coincidental.
Supplies needed
Tube(s)
of choice, I used the Artwork by ©Ismael Rac you must
purchase a license found here.
PTU now FTU
Scrapkit by Shani of Wicked Princess Scraps called Melancholy
Love and can be found here.
Tag template by Missy
of Divine Intentionz and can be found here.
EyeCandy plug-in (I used
4000)
Mask of choice.
For animation, sparkles of
choice.
Animation Shop if you
choose to animate.
(instructions will be
below the tutorial.)
Please remember to stop
and save often.
Add drop shadow of choice
as you go. Refer to my example as needed, merge layers down as needed
to make things a little easier.
Let's Rock this Tutorial!!
Let's Rock this Tutorial!!
Open up the
template.
Shift + D.
Close out the original.
Shift + D.
Close out the original.
Resize canvas 800x600, you
can resize/crop at the end.
Highlight Raster1 layer
select-all add new raster
layer
paste paper 2 into
selection.
Deselect.
Add new mask layer of your
choice.
Highlight the top left halftone layer.
Open element GLITTERSPLAT
Mirror and arrange to
liking on top left side.
Duplicate-mirror-flip
arrange to the right
middle of tag.
Delete both halftone
layers.
Highlight the bottom right
rectangle layer.
select-all add new raster
layer
paste paper 2 into
selection.
Go back to bottom right
rectangle
float-defloat-invert
hit the delete key on your
keyboard.
Do the same to the top
left rectangle layer
Delete both original
layers.
Do the same to the
frames back
using paper7 and
Circle and Circle3 layers
(blue circles)
using paper 17.
Add tube of choice to fit
inside the frames.
Arrange and Resize to
liking
delete any tube extending
outside the frames.
for the top tubes, set
visibility to 60%
and the bottom to 75%
Open element BARBEDWIRE
resize to liking and
arrange
to the top left, duplicate
and arrange to the bottom
right.
Open element
SCALLOPEDFLORALFRAME
resize 70% and arrange
over circle3
Duplicate and arrange over
the first circle.
Delete all 4 original
circle layers.
Paste tube of choice
inside the bottom frame.
Delete/erase any tube
extending outside the frame.
Go to layer properties set
visibility to 37.
Go to
effects-xero-porcelain
using the following
settings.
(insert image)
Open the black frame
element.
Resize to 50%
Arrange over frame layer.
Delete both original frame
layers.
With your magic wand,
click inside the frame
paste paper 11 into
selection.
Add tube of choice,
arrange and
delete any tube extenging.
outside the frame.
Go to your layers palette
set the properties to
luminance (legacy).
Go to the wordart by minx,
select inside the Gimme
Dat the !!'s
and O's in the small mojo
words.
add new raster layer
floodfill with color from
kit or tube.
Do not deselect.
Go back to the original
wordart layer and hit the delete
on your keyboad.
Deselect.
Go to the new Gimme Dat
layer
Go to effects-eyecandy4000
Glass using the following
settings:
(insert image)
Add elements,
GLITTERFLOWER,
GRUNGECANDLE, BOTTLE
and SKULLDAGGER
in that order.
Re-size and Arrange to the
bottom left.
Add any other elements if
you like.
Add tube of choice
Add your name, Copyright
info, license and save!
Thanks for Rocking Out my
tutorial, I hope you enjoyed! ~Lori
For animation of
flames:
Zoom in real close to the
candle, with your magic wand click the flame on the candle until you
have ants going around it. Zoom back out. Go to Plug in: EyeCandy
4000 Fire using these settings: Direction: 90; Column Length: 739;
Flame Width: 13.86; Side Taper: 33.49; Movement: 33; Check Denser
Flames; Check Start from far side; Random Seed: 67; hit ok. Select
none and save as png, naming it 'frame1',
'frame2, frame 3, and so
on.......
Do this until you have as
many frames as needed.
For example, the sparkles
in my tag has 16 frames,
I wanted 2 extra,
so I made 18 frames w/the
flames and saved each as a .png in PSP.
Go to Animation Shop
Animation Wizard,
following each step as
shown. (pawprints is what is clicked)
(insert images)
when the next window pops
up click 'finish'
View and Save animation!
(If you need help in
saving an animation, click here.)

Subscribe to:
Post Comments (Atom)
 Thanks to Shani of Wicked Princess Scraps for the use of her kit, Strength In Me, a FTU kit to help raise awareness in testicular cancer. No matter what kind of cancer it is, if you love someone with cancer, be by their side and 'Love them through it'.


- Lori
- Hello, my name is Lori. I work full time as a Grooming Salon Manager, I LOVE my 4 legged 'Babies'! (Hence the name of my blog) I'm soon to be married to a Great man, Put (actually it's his nickname). I have 2 Beautiful Daughters and 1 Handsome Son. I also have 2 Grandsons, Hunter and Trey, and a Step-Grandson, Logan! In my spare time I love to make tags and scrap page Lo's! I hope you enjoy and come back often!


Kits no longer available
(but thought you'd still be interested)
Life is Short
Strokin'
Janesko's Merry Christmas
I Believe in Faries
Friends Make the world
Mystic
Sexy
Let's Get Rocked!
Under the Mistletoe
Coffee Time with Friends
Blow Your Mind
Addicted to Love
Sending My Love
Never Weary of Life
Candy Girl
Sweet as Candy
Sexifullicious
Respect the Sisterhood
Newsflash Sweetie
Girlfriends
Believe In Faries


0 comments:
Post a Comment